Please note: This website contains affiliate links. As an Amazon Associate, we earn from qualifying purchases at no additional cost to you.
If you’ve noticed more hair in your brush lately, you aren’t imagining it—and you’re definitely not alone.
I’m currently on Zepbound, and a few months in, I hit a side effect I wasn’t prepared for: thinning hair. Whether it’s the medication itself or the rapid weight loss and nutritional shifts that come with it, seeing my ponytail lose its fullness was a wake-up call. While I’m working through the “why” with my doctor (which you should do, too!), I wanted something proactive and nourishing I could do at home right now.
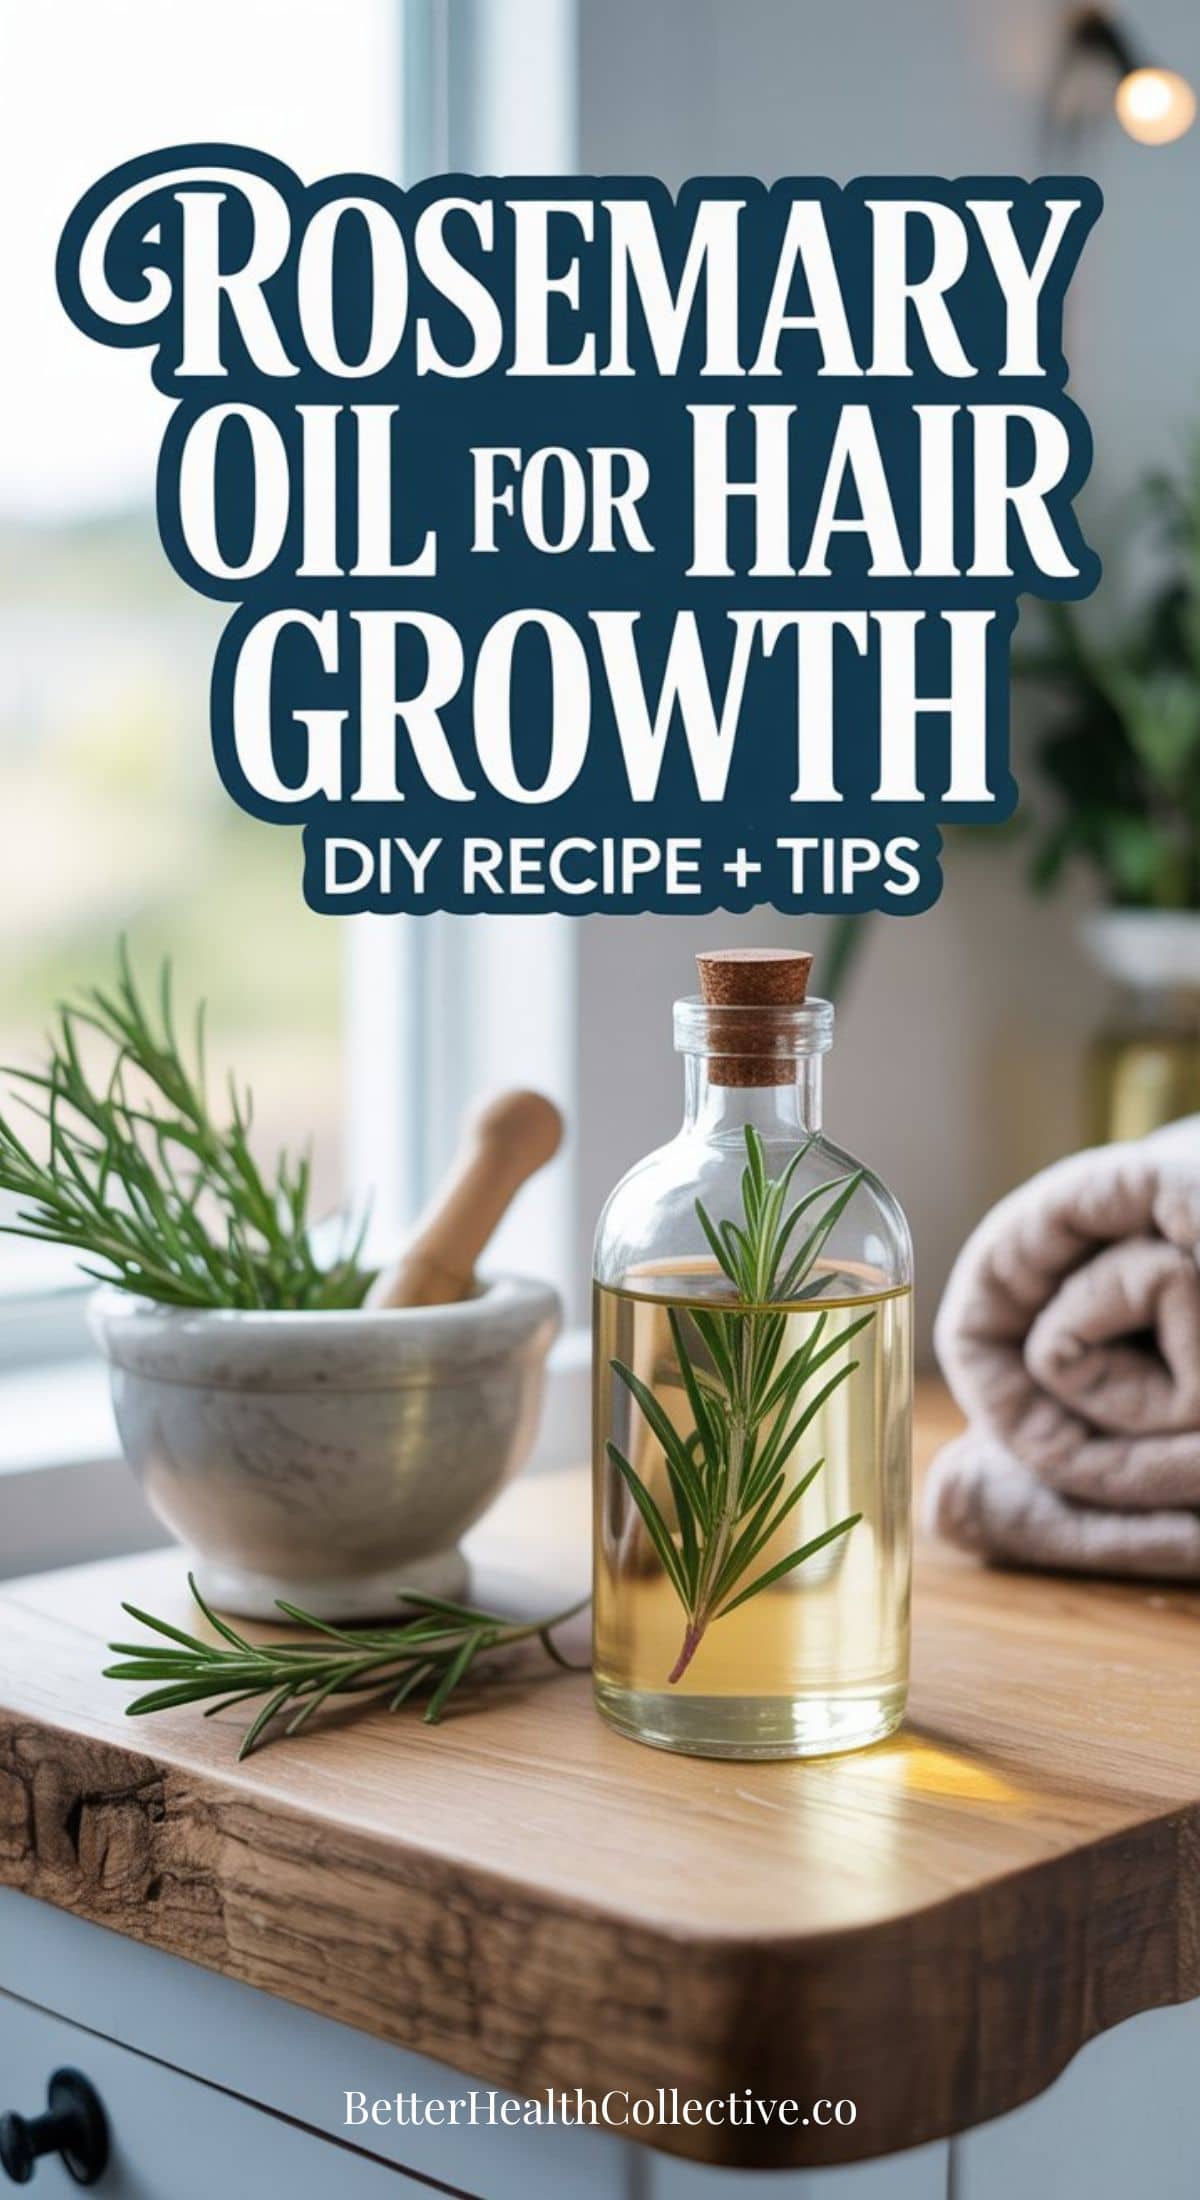
That’s how I landed on DIY Rosemary Oil.
I want to be upfront: this isn’t a “miracle cure.” Hair health is complex and depends on your unique biology. However, rosemary oil has some compelling research behind it, it’s incredibly easy to make, and adding it to my routine has helped me feel in control of my hair health while I navigate the bigger picture.
Here’s how to make your own in about 10 minutes.
What Is Rosemary Oil and Why Do People Use It for Hair?
Rosemary (Rosmarinus officinalis) isn’t just a kitchen staple; it’s a traditional wellness powerhouse that’s finally getting its day in the lab.
The most famous piece of evidence is a 2015 study published in SKINmed. Researchers compared rosemary oil to 2% minoxidil (a common over-the-counter hair growth treatment). The results? After six months, both groups saw a similar increase in hair count—but the rosemary oil group reported significantly less scalp itching.
How It Works (The Science-y Bit)
While the research is still growing, scientists believe rosemary oil supports your scalp in three main ways:
- Circulation Boost: It’s thought to improve blood flow to the scalp, ensuring hair follicles get the oxygen and nutrients they need.
- Anti-Inflammatory Power: High levels of rosmarinic acid help soothe the scalp environment.
- DHT Inhibition: Some evidence suggests it may mildly block DHT, a hormone closely linked to hair thinning.
Is it a guaranteed miracle? No. But for a DIY recipe that costs a few dollars and smells incredible? Worth adding to your hair care routine.
Rosemary Oil Hair Oil Recipe
What You’ll Need
This recipe uses a simple infusion method — you don’t need any special equipment, just a little patience.
Basic Version (3 Ingredients)
- Fresh or dried rosemary sprigs — about 4–6 sprigs fresh, or 2 tablespoons dried
- Carrier oil — 4 oz (½ cup). Best options:
- Jojoba oil — lightweight, closely mimics your scalp’s natural sebum, great for all hair types
- Castor oil — thicker, often used specifically for hair growth support, best blended with a lighter oil
- Sweet almond oil — light, nourishing, good for sensitive scalps
- A small glass jar or bottle with a lid

Cliganic Organic Jojoba Oil
Buy Now
$9.48
100% Pure | Moisturizing for Face, Hair, Skin & Nails | Natural Cold Pressed Hexane Free | Base Carrier Oil
We earn a commission if you make a purchase, at no additional cost to you.
01/06/2026 04:30 pm GMT
Stronger Version (For Extra Support)
Add any or all of the following to your carrier oil:
- 5–10 drops peppermint essential oil — stimulating to the scalp, smells amazing
- 5 drops lavender essential oil — calming, also studied for hair health
- 1 tablespoon castor oil (if not already using it as your base) — adds thickness and extra richness

Handcraft Blends Organic Castor Oil
Shop on Amazon
100% Pure and Natural | Premium Grade Carrier Oil | Hair, Eyelashes and Eyebrows
We earn a commission if you make a purchase, at no additional cost to you.
How to Make Rosemary Oil for Hair: Three Methods
Method 1: Cold Infusion (Best Quality, Takes Longer)
This is the slow-and-steady approach that preserves the most beneficial compounds in the rosemary.
- Place your rosemary sprigs or dried rosemary into a clean glass jar
- Pour your carrier oil over the rosemary until it’s fully submerged
- Seal the jar and place it in a cool, dark spot — a cupboard works perfectly
- Let it infuse for 2–4 weeks, giving the jar a gentle shake every few days
- When ready, strain out the rosemary using a fine mesh strainer or cheesecloth
- Pour your finished oil into a clean bottle or dropper jar
- Store in a cool, dark place — it will keep for up to 6 months
Method 2: Warm Infusion (Ready in 2 Hours)
If you’d rather not wait a month, this method uses gentle heat to speed up the process.
- Place rosemary and carrier oil in a small saucepan or double boiler
- Warm over the lowest heat setting for 2–3 hours — you want the oil to be warm, not hot. If it starts to bubble or smoke, it’s too hot
- Keep an eye on it and stir occasionally
- Remove from heat and allow to cool completely
- Strain out the rosemary and transfer to your storage bottle
- Store in a cool, dark place
Method 3: The Quick option
If you’re in a rush, you can also simply mix 10–15 drops of rosemary essential oil directly into 2 oz of carrier oil and use it right away — no infusion required. This skips the herbal infusion step but still gives you the benefits of rosemary essential oil. More details below.
How to Use Rosemary Hair Oil for Hair Growth
Now that you’ve made your hair oil, let’s put it to work!
Basic Scalp Treatment
- Part your hair into sections
- Using your fingertips or a dropper, apply the oil directly to your scalp — not just the length of your hair
- Massage gently in circular motions for 3–5 minutes — this is important, as the massage itself stimulates circulation
- Leave on for at least 30 minutes, or overnight for a deeper treatment
- Wash out with your regular shampoo — you may need to shampoo twice if you used a lot of oil
How Often to Use It
Most hair care experts suggest 2–3 times per week for best results. Consistency matters more than quantity — a little oil used regularly is better than a lot used occasionally.
A Note on Expectations
If you decide to try this, give it at least 3–6 months before drawing any conclusions. Hair growth is slow, and any changes — positive or not — take time to show up. I would recommend take a photo of your hairline or part before you start so you have something to compare to later.
A Few Tips for Best Results
- Do a patch test first. Apply a small amount to your inner arm and wait 24 hours before using it on your scalp — especially important if you have sensitive skin.
- The massage matters as much as the oil. Scalp massage on its own has been shown in small studies to support hair thickness, possibly by stretching the cells of hair follicles. Don’t skip this step.
- Combine it with nutrition support. If you’re on a GLP-1 medication and eating less, it’s worth talking to your doctor about whether you’re getting enough of the nutrients that support hair health — particularly protein, iron, zinc, and biotin. A topical oil can’t compensate for nutritional gaps.
- Store it properly. Heat and light degrade the oil over time. A dark glass bottle in a cool cupboard will keep it fresh much longer than a clear bottle on a sunny shelf.
Who Should Talk to Their Doctor First
A few situations where it’s especially worth checking in with your healthcare provider before adding this to your routine:
- If you have a diagnosed scalp condition like psoriasis, seborrheic dermatitis, or folliculitis
- If your hair loss is sudden, patchy, or significant
- If you’re experiencing other symptoms alongside hair thinning (fatigue, nail changes, skin changes) that might point to a nutritional deficiency or hormonal issue
- If you’re on GLP-1 medications and haven’t yet discussed hair changes with your prescriber
Hair loss can have many causes, and sometimes it’s a signal worth paying attention to — not just managing topically.
The Simple Version (TL;DR)
If you want to get started today without overthinking it:
- Mix 10 drops rosemary essential oil + 10 drops peppermint essential oil into 2 oz jojoba oil
- Apply to scalp, massage for 5 minutes, leave for 30 minutes
- Wash out and repeat 2–3 times per week
- Give it 3–6 months and track your progress
That’s it. Simple, affordable, and genuinely worth trying as part of a broader hair care routine.
Final Thoughts
Hair thinning is one of those things that feels surprisingly personal — even when you know it’s common, even when you understand the reasons behind it, it still stings a little. I get it.
This rosemary oil won’t fix everything. But it’s a simple, low-cost addition to your routine that has some real science behind it, smells wonderful, and makes the whole process of caring for your hair feel a little more intentional. And sometimes, taking a small active step toward something you care about is worth a lot on its own.
If you’re experiencing significant hair changes on a GLP-1 medication, please bring it up with your doctor. You deserve a real answer, not just a workaround.
Related reading you might find helpful:
- Best Shampoos for Women with Thinning Hair
- Collagen Supplements for Skin Glow (and Hair Health)
- Magnesium Rich Foods — and Why They Matter More Than You Think
- Signs Your Cortisol Is Out of Control (Hair Loss Is on the List)
Please note: This website contains affiliate links. As an Amazon Associate, we earn from qualifying purchases at no additional cost to you.